From Figma to React: A Smarter Export Workflow for AI Prototyping
This is a short walkthrough of how to export designs from Figma → V0 (Lovable, BOLT, Replit, Cursor) precisely, without loosing important details with native integrations or screenshots.

Lately, I’ve been experimenting with ways to bring Figma designs directly into AI prototyping tools like V0, Lovable, Bolt and Replit, and native solutions were disapointing to say the least. V0 integration with Figma seems seamless on the surface – just from the Figma link to the designed frame to the prompt window, but in reality V0 interpretations of designs were far from being precise. Lovable and Bolt situation is even worse – they can only take Figma designs in the first prompt while not letting to write any additional explanaition. And after the first prompt you have to rely on screenshots to demonstrate your design.
So I took a moment and described a better, more precise flow to import your designs. It requires additional tools, but it’s not too complicated. There are 2 scenarios I have explored:
with Builder.io
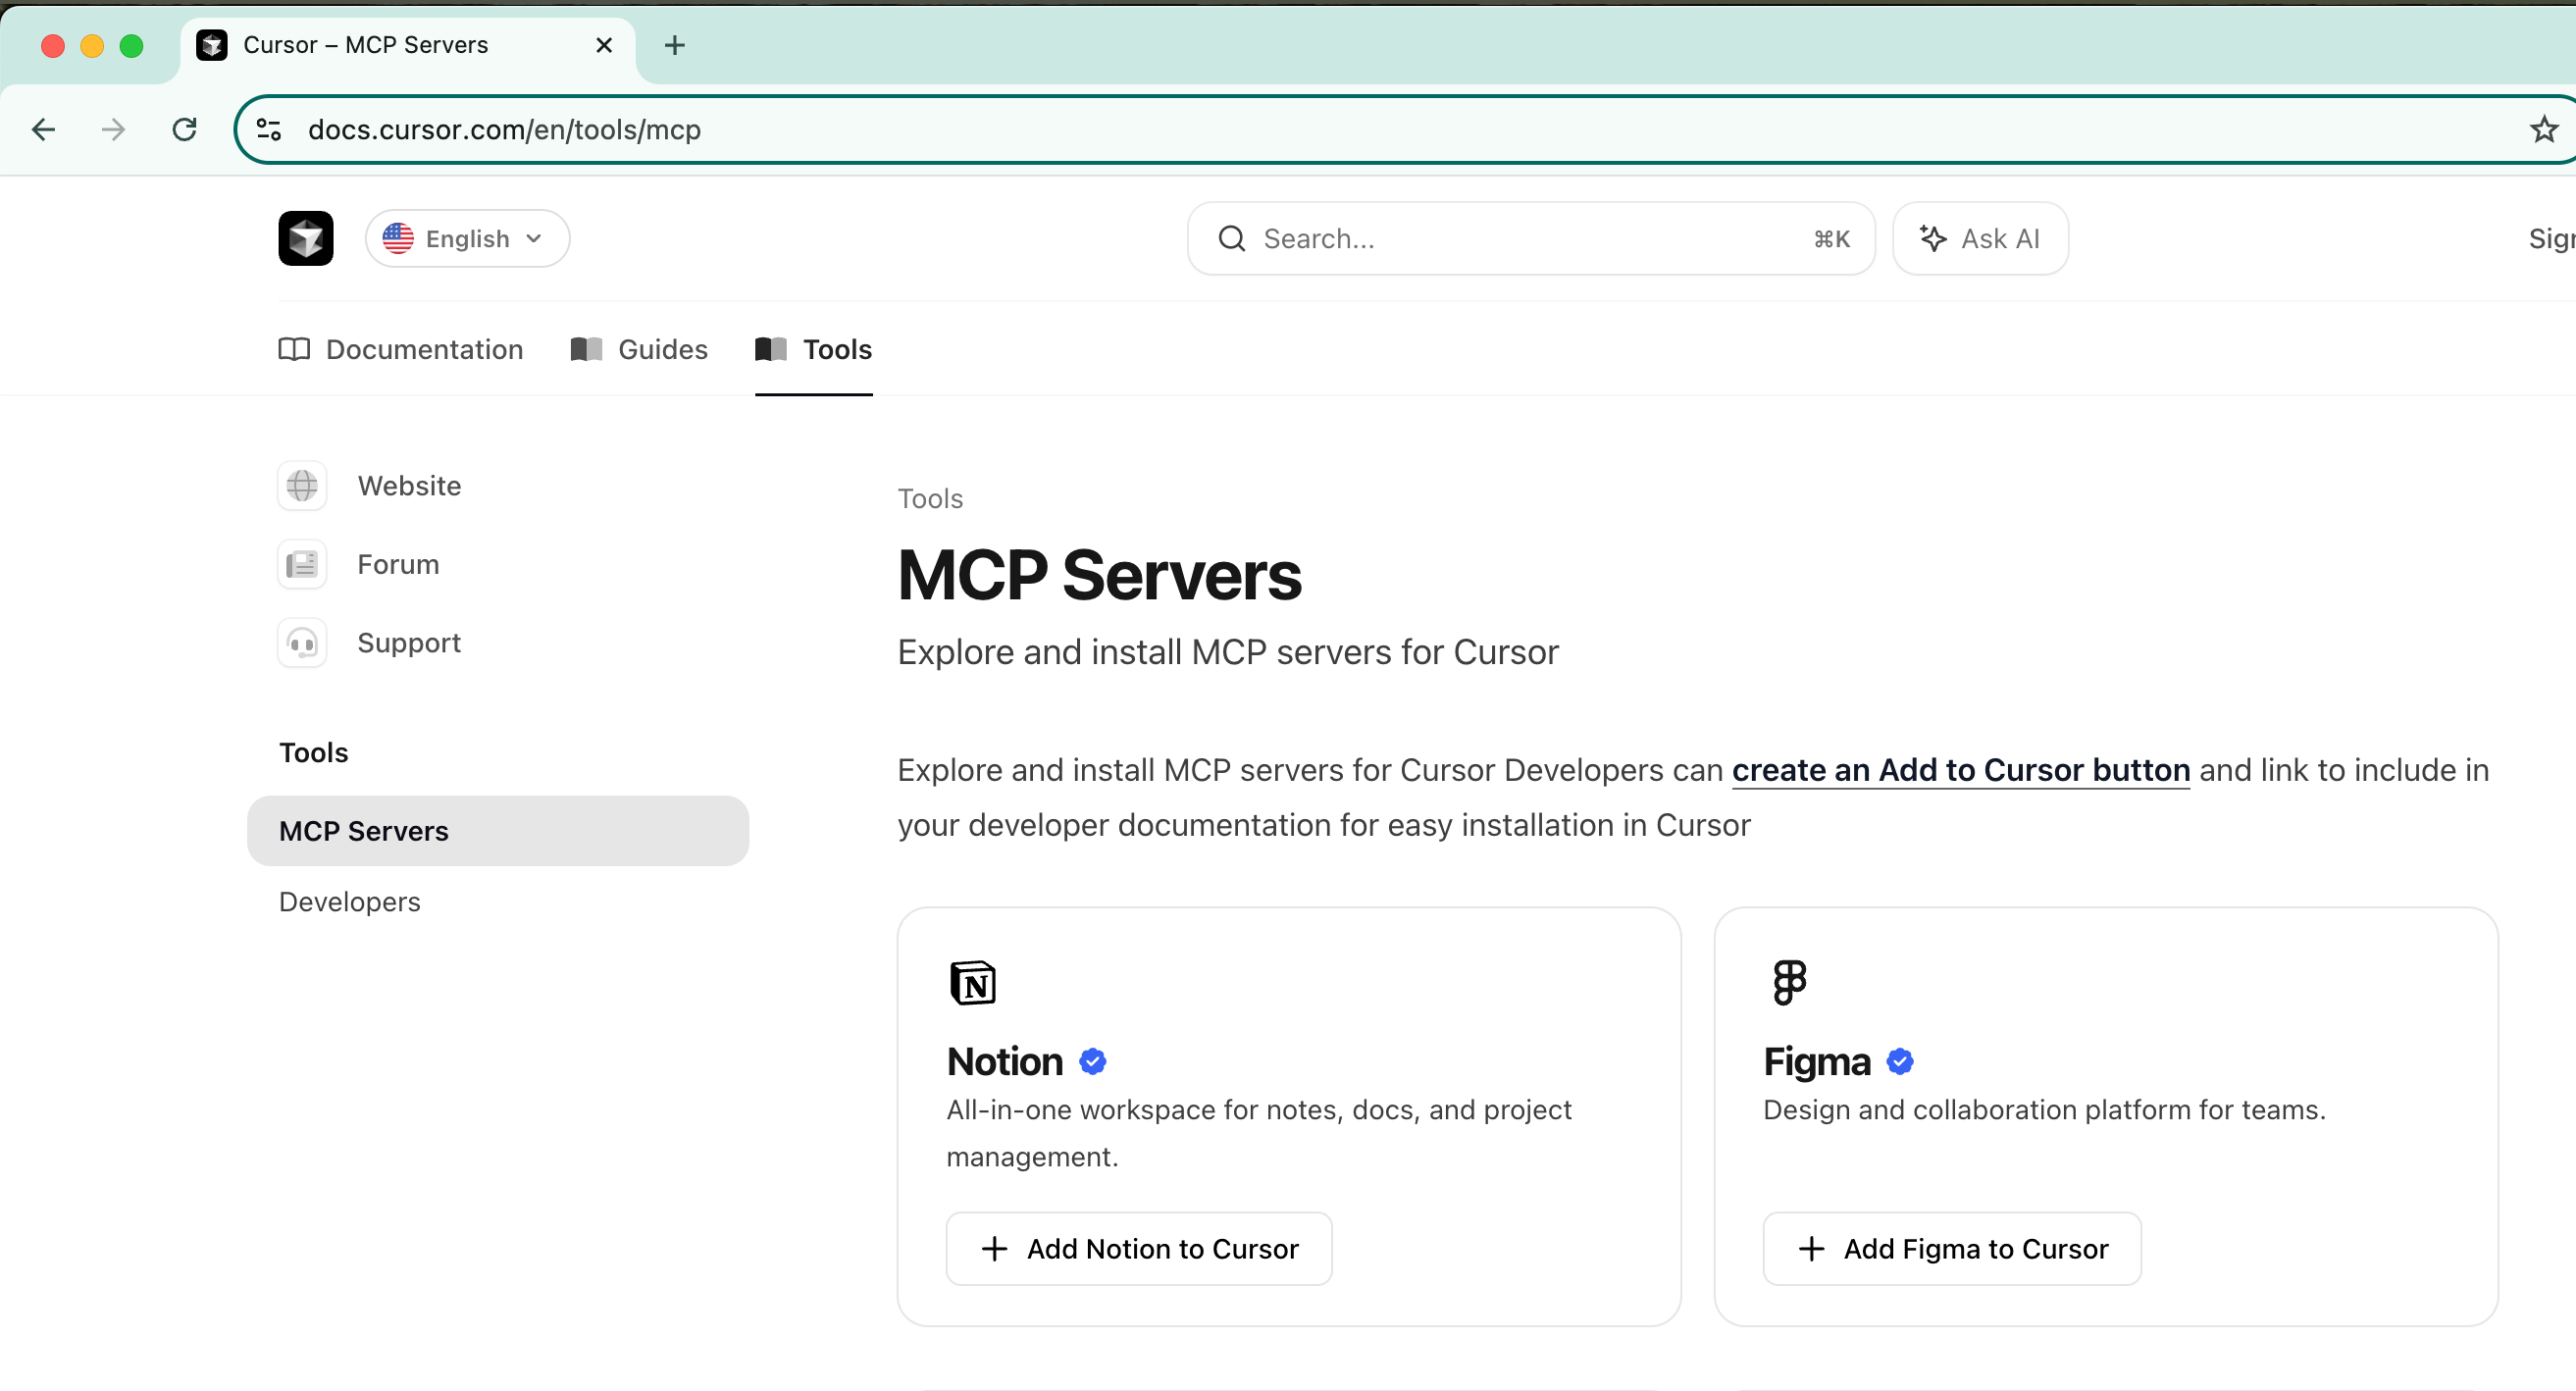
with Figma MCP
🛠 Tools Used
Figma
Builder.io plugin
Cursor (works the same with Windsurf or VisualStudio)
Scenario 1. Builder.io
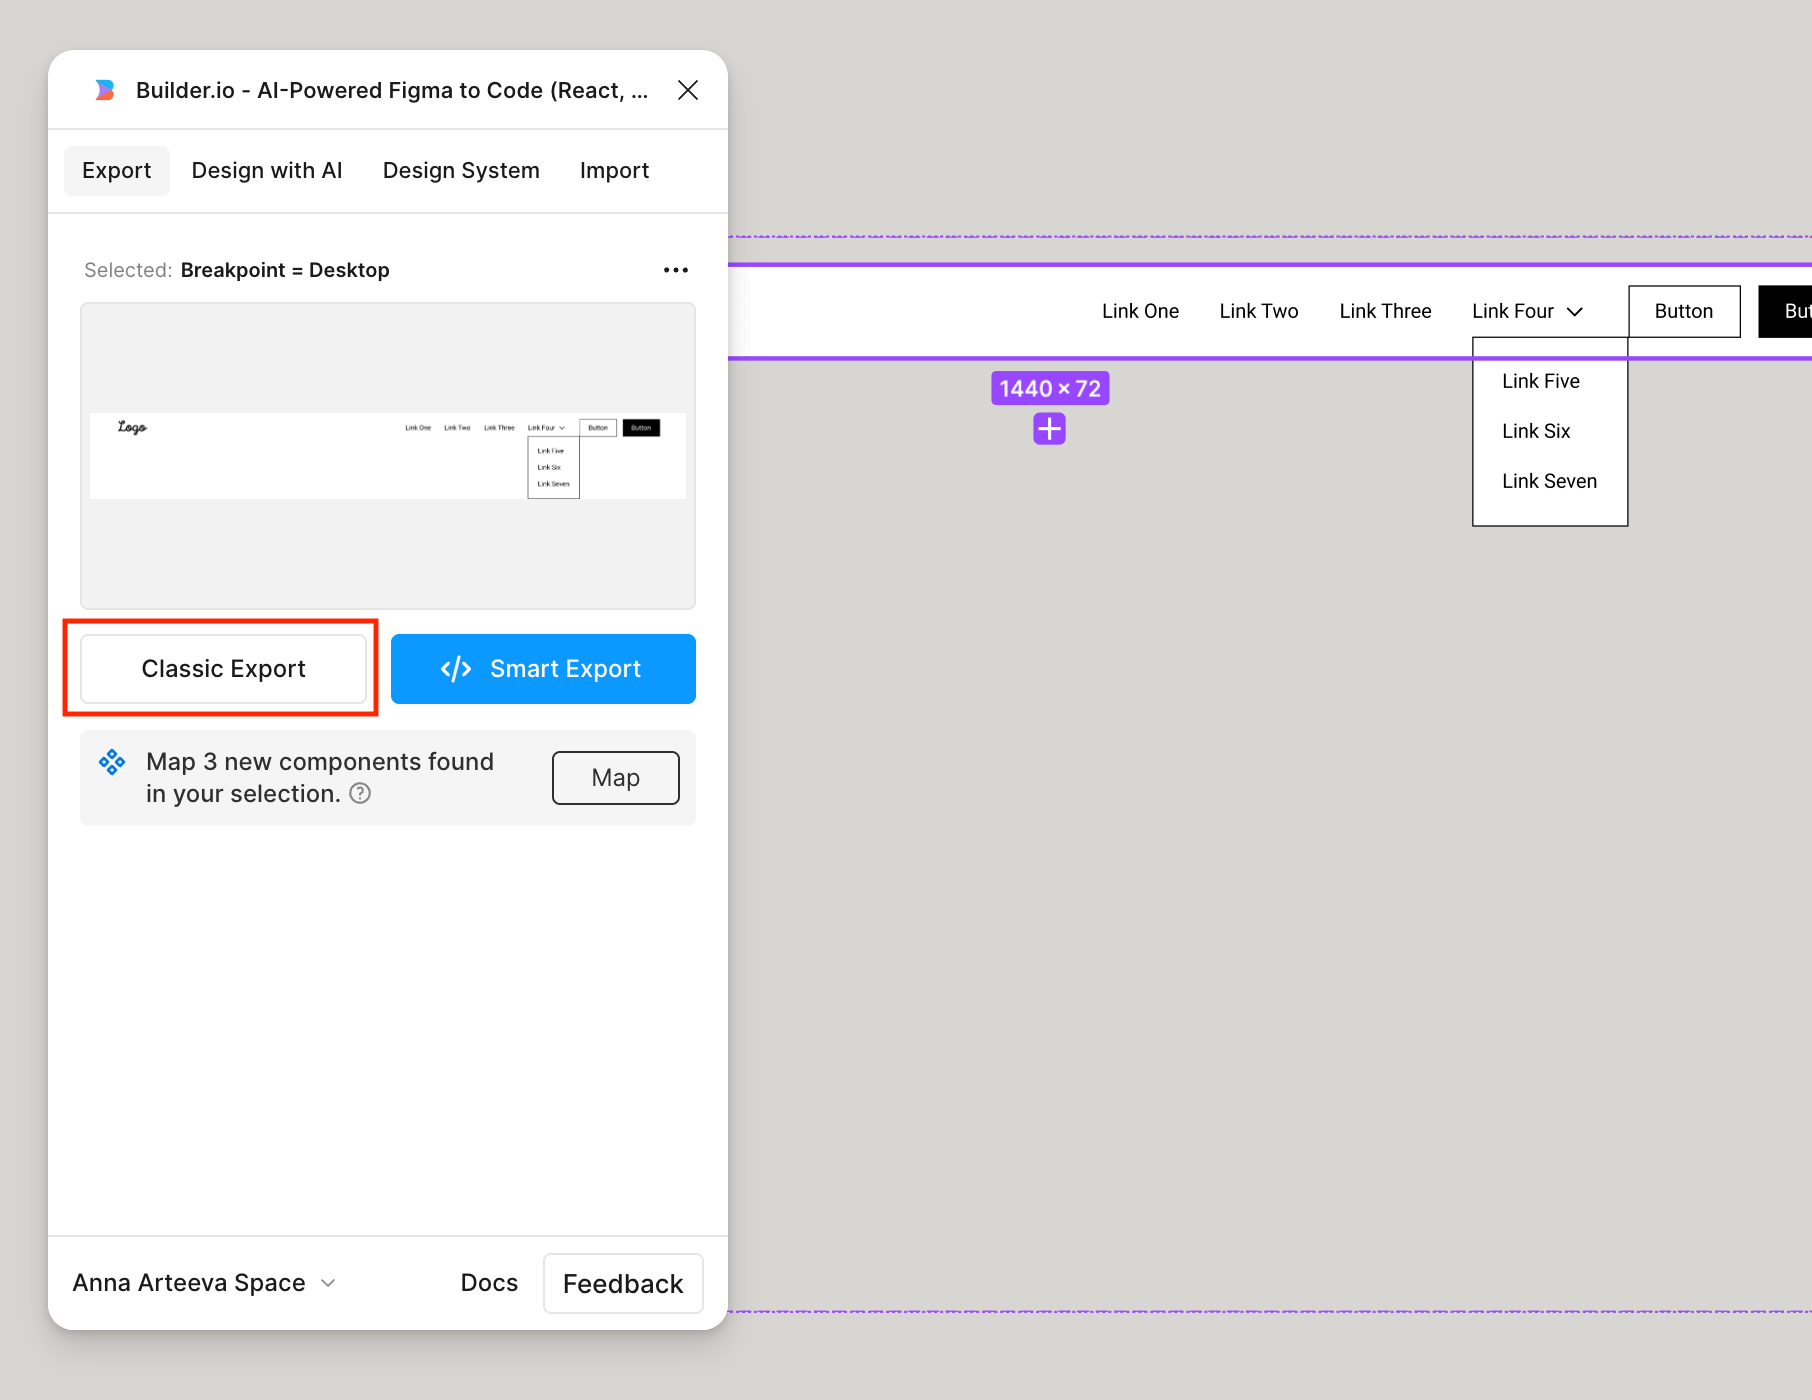
Step 1: Set up your Figma file for export
Start with a well-structured frame. In this tutorial, I’m using a responsive navbar based on the Relume Figma Kit.
➡️ Tip: Make sure your design is organised well, name your layers and avoid unnecessary nesting—it affects how components are generated later.
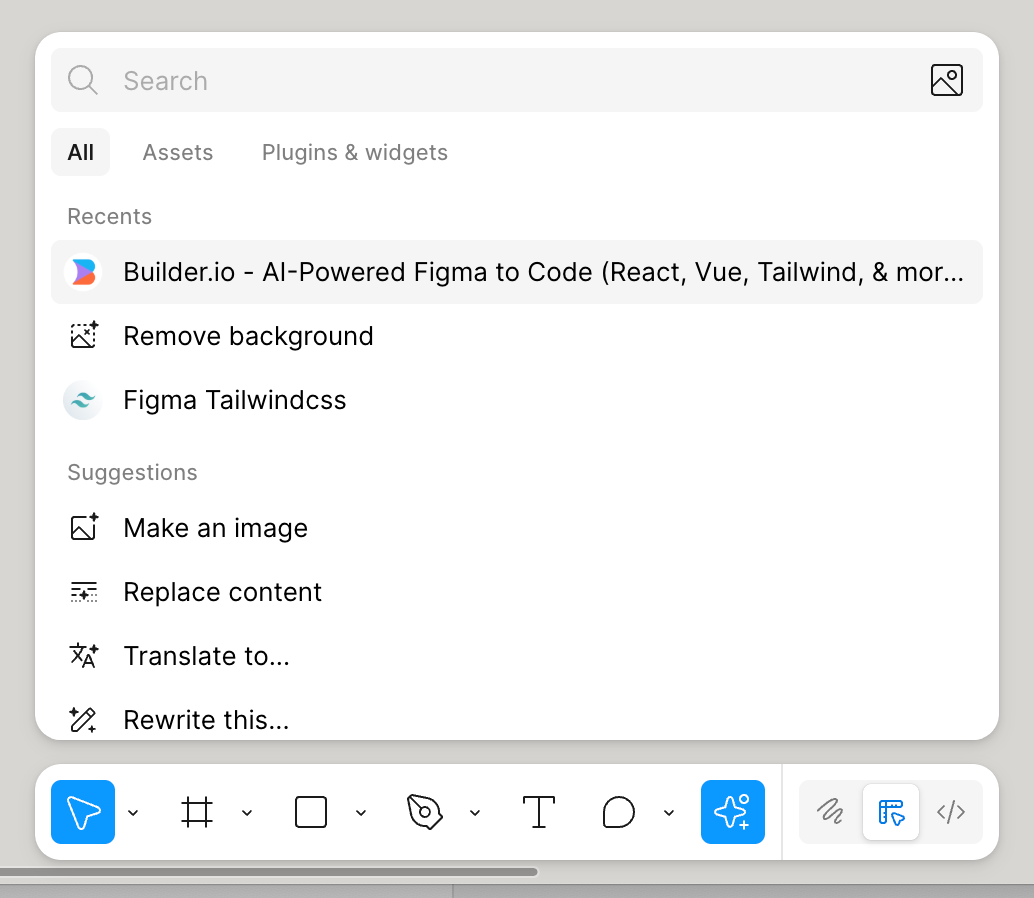
Step 2: Use the Builder.io plugin in Figma
Install and open the Builder.io plugin in Figma. It shows up as:
Builder.io – AI-Powered Figma to Code (React, Vue, Tailwind, & more)
Then select the frame you want to export (in my case, the desktop navbar), and click Classic Export.
👉 It automatically detects new components and lets you map them. This saves a lot of cleanup later.
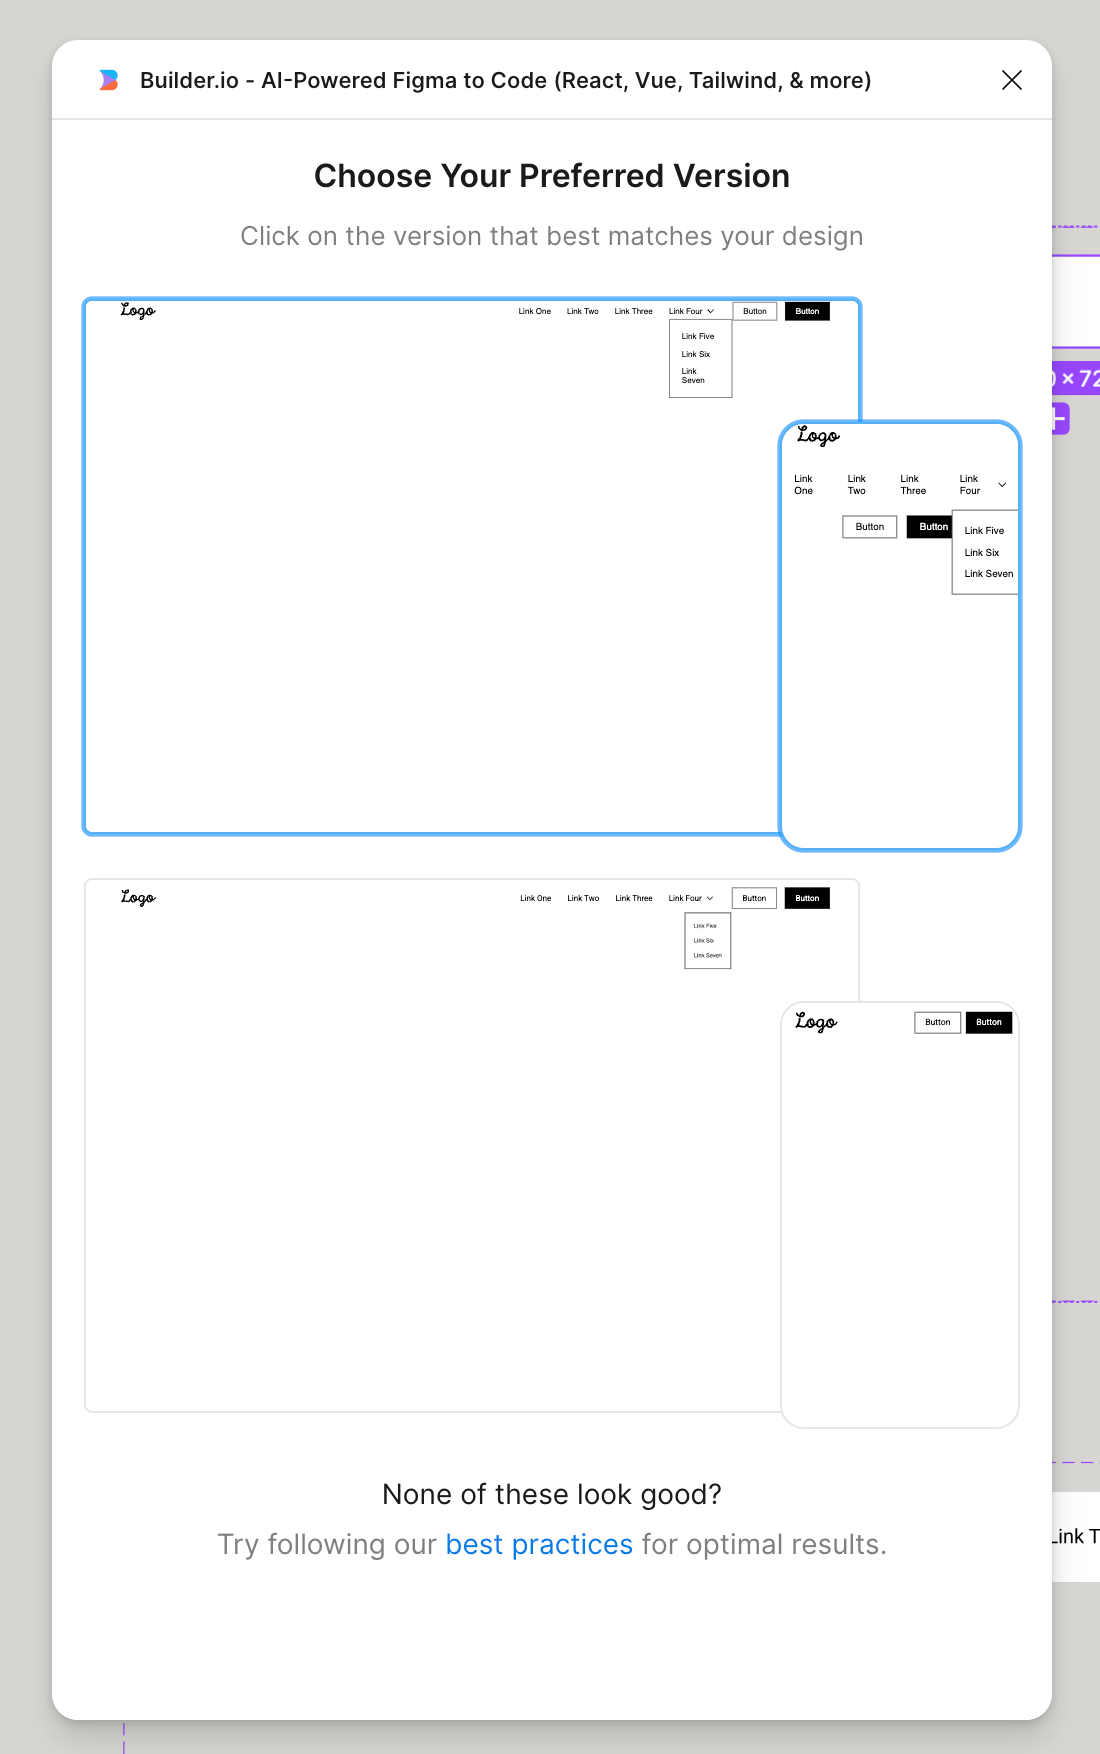
Builder has generated two options, select one that you prefer
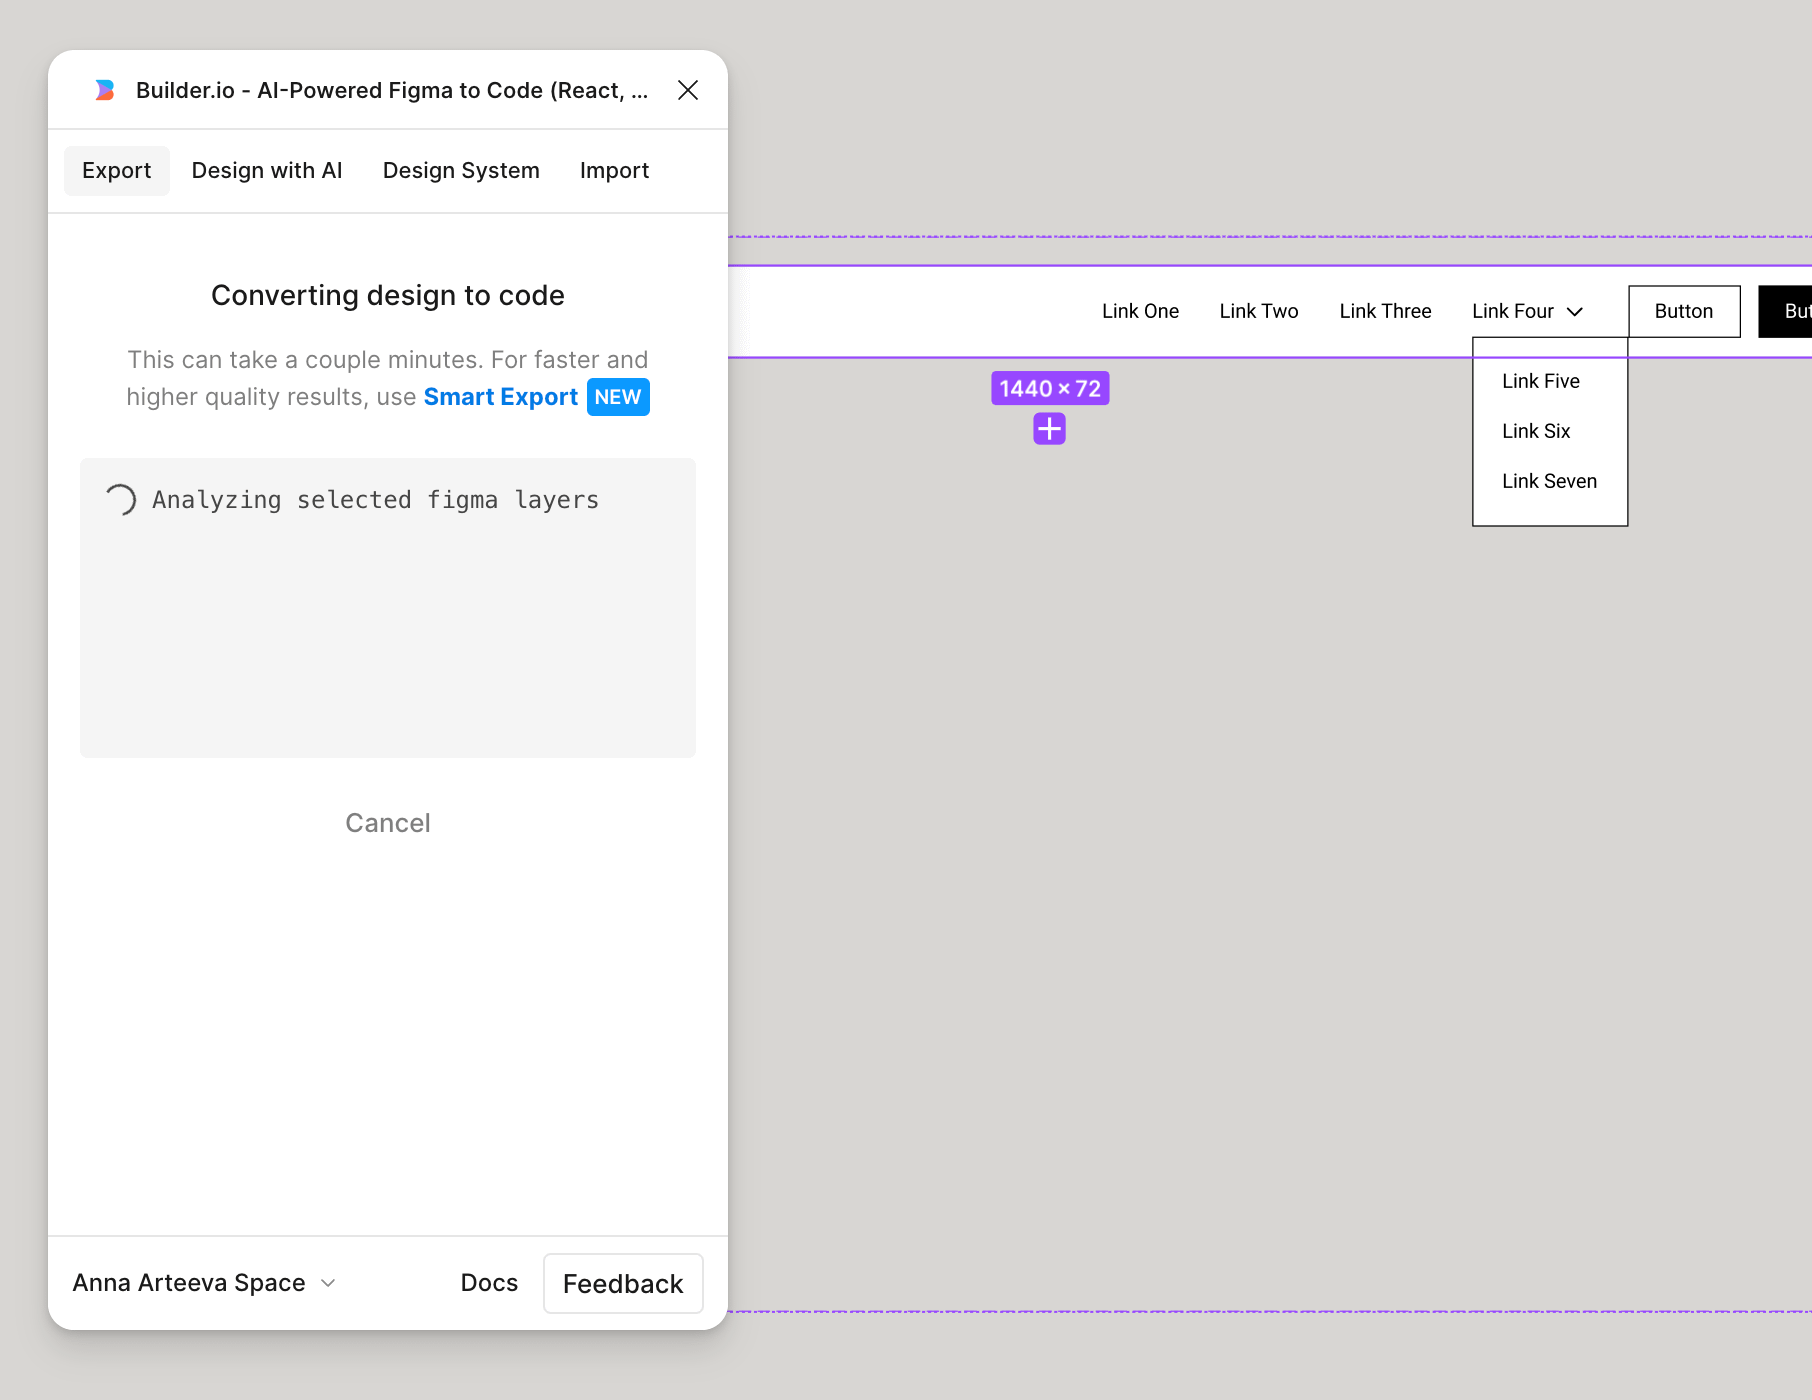
Step 3: Generate code
Click the obscure Generate Code button, and wait again, don’t close the window until it’s done, it will take a moment
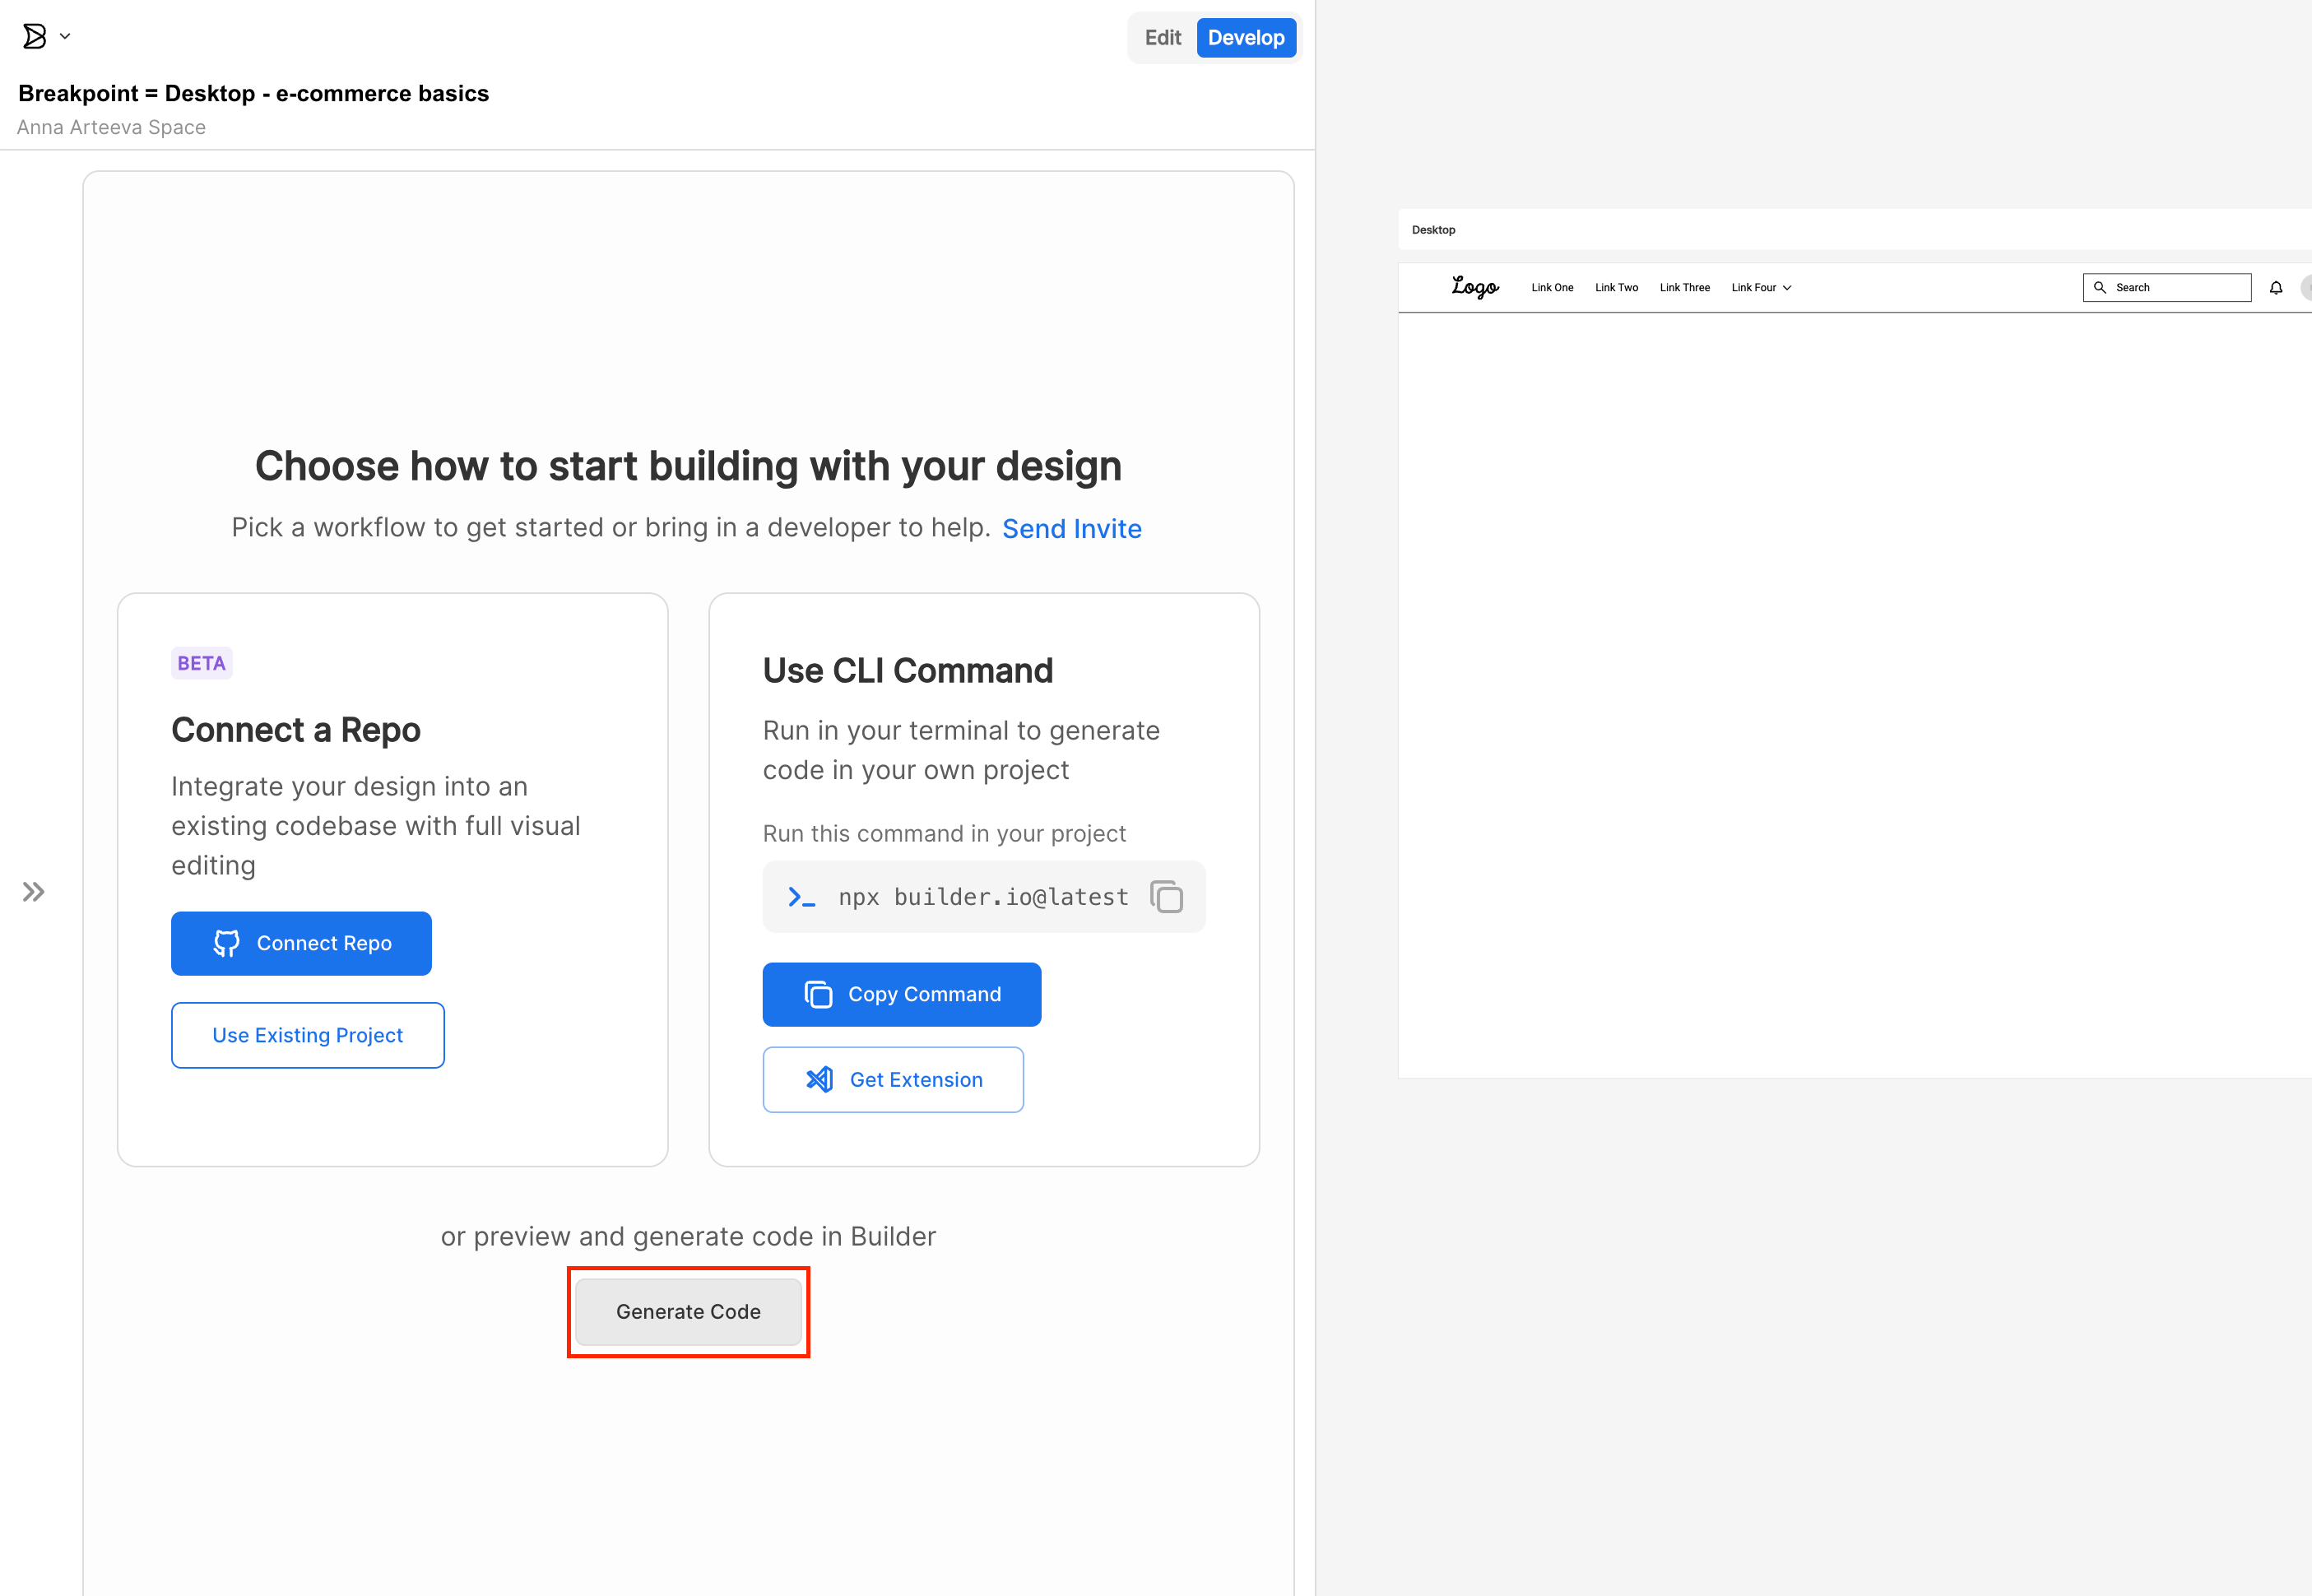
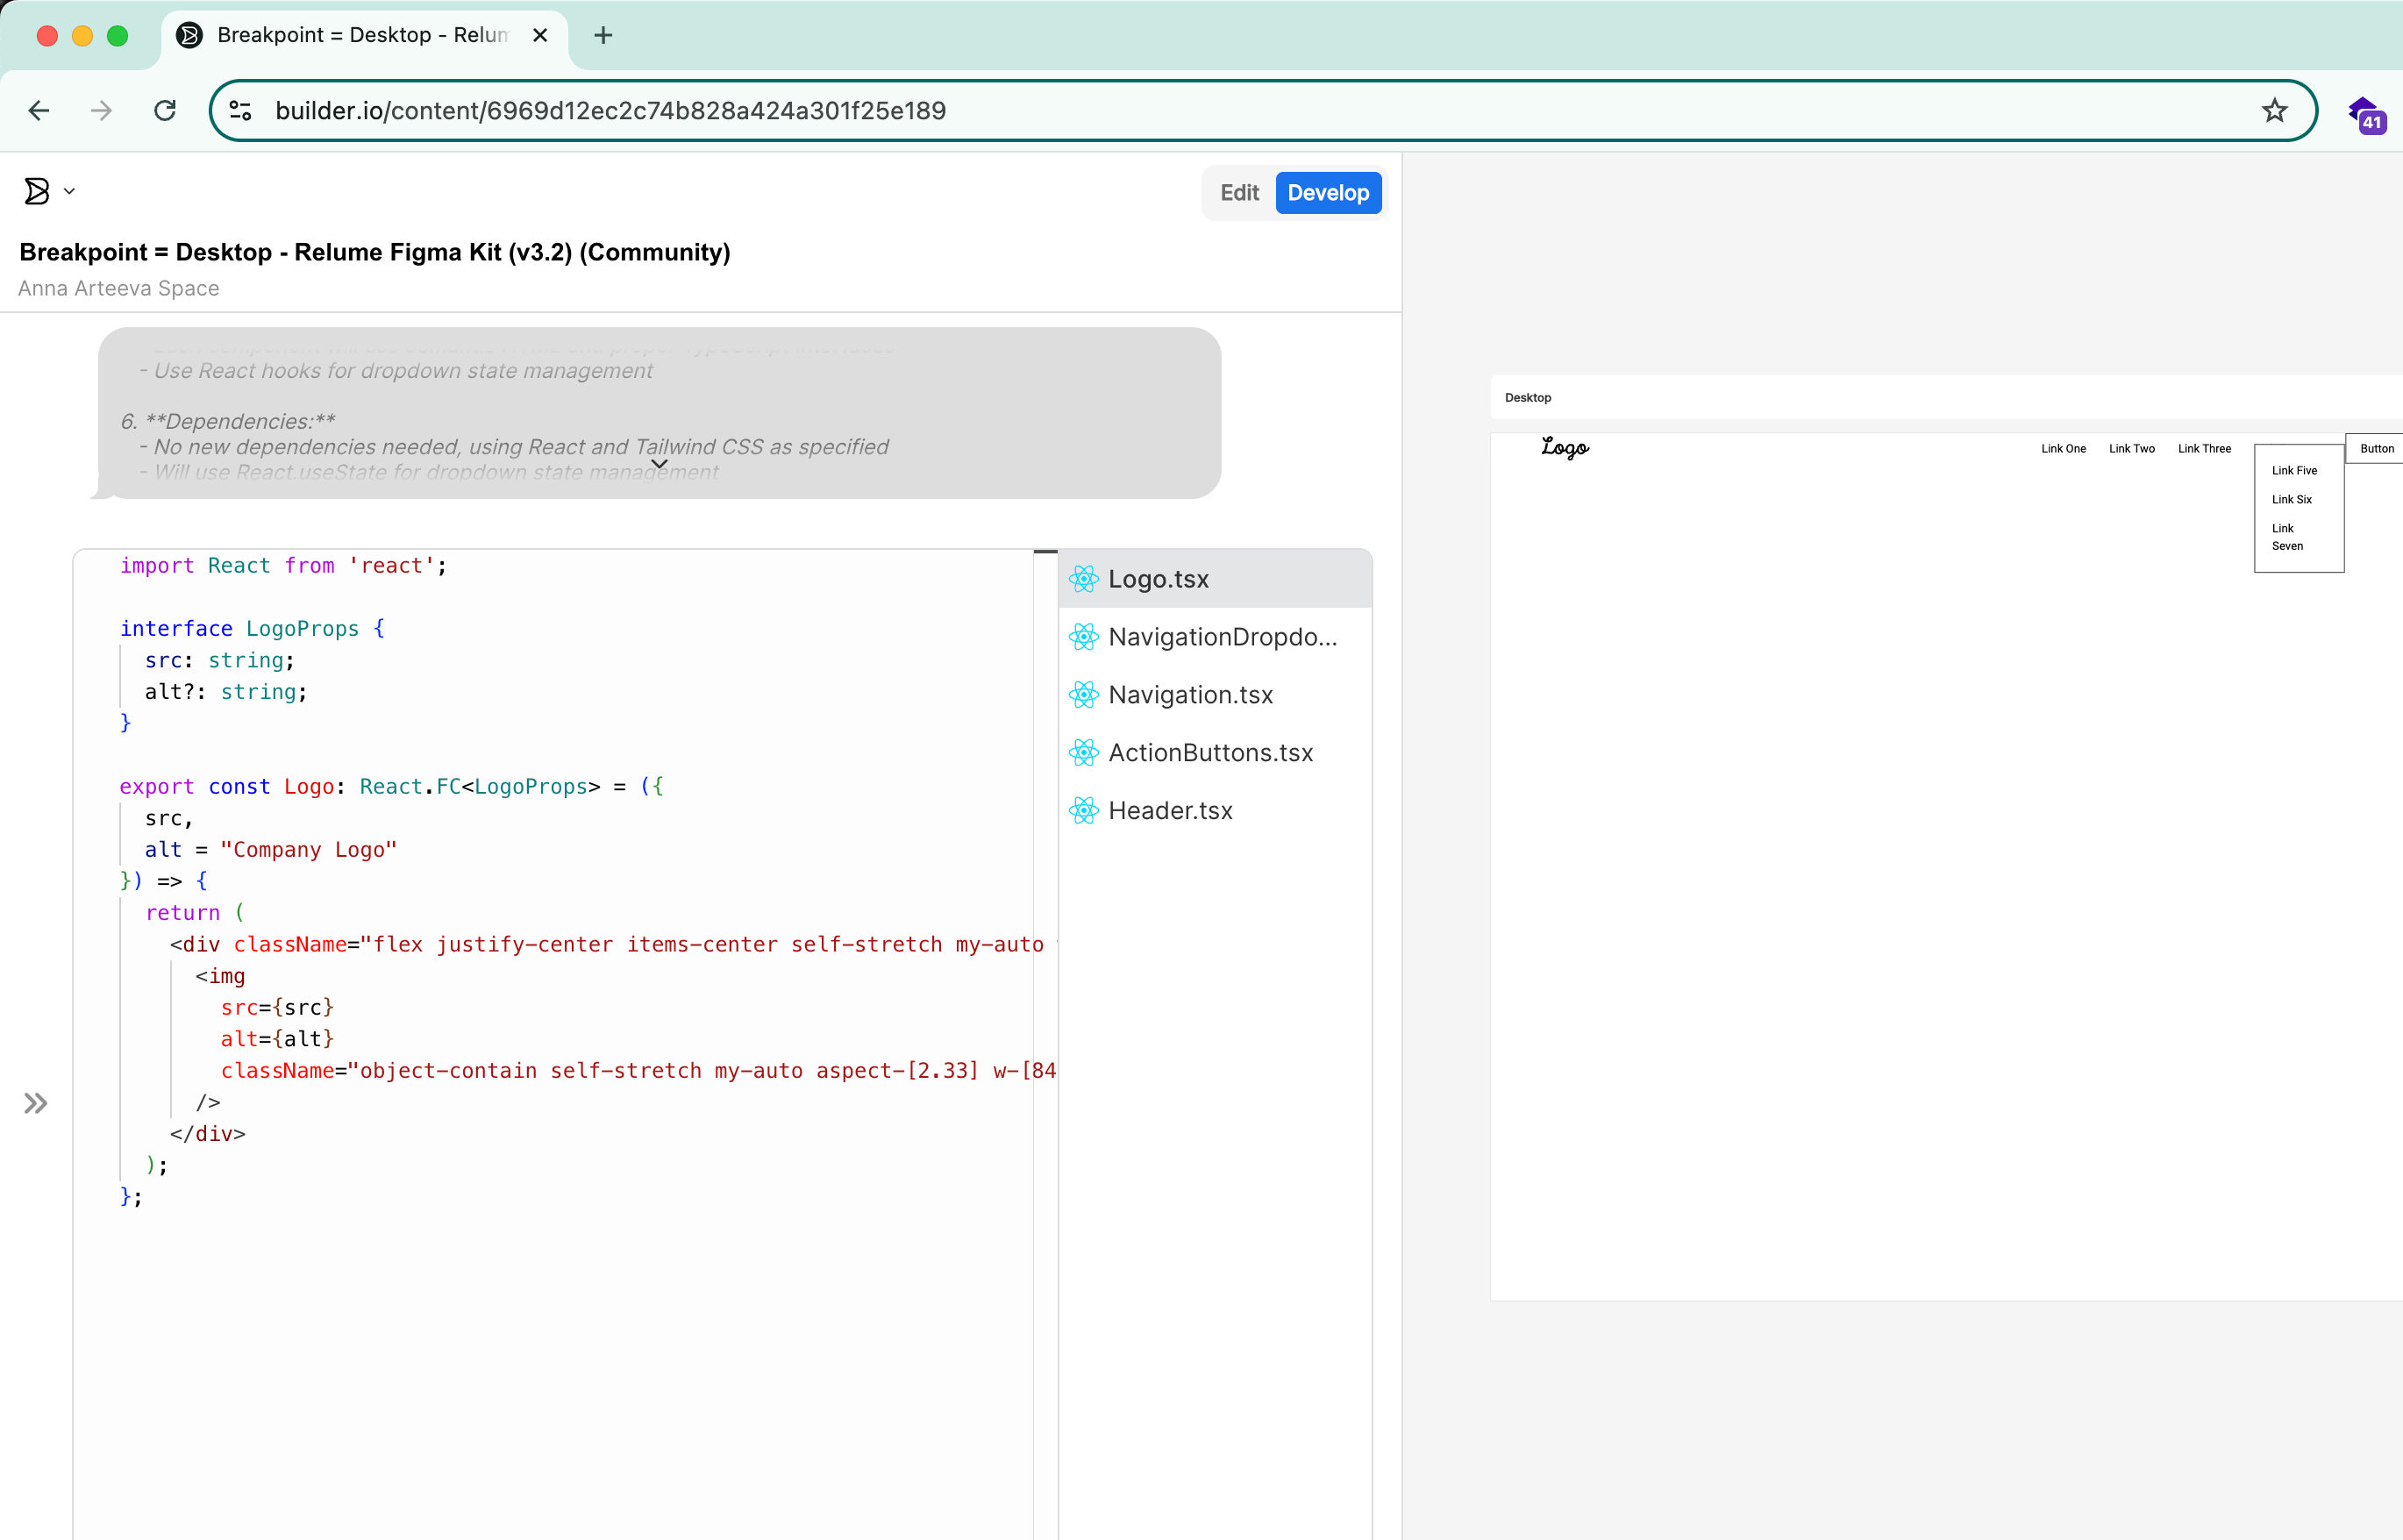
Step 4: Export to your codebase or AI prototyping tool
Once you’re happy with the export, Builder gives you multiple options:
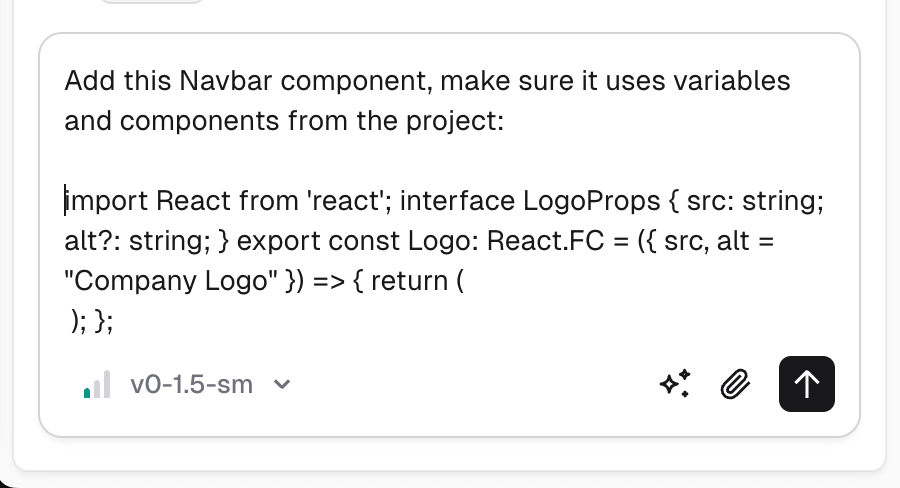
Copy each component into the prompt window of your AI prototyping cool, one after another in the single prompt
Explain where this component should be used
AI tool will clean this code up, replace the variables and make sure it fits the rest of your codebase
Do not copy-paste the code directly in code view to avoide bugs
Scenario 2. Figma MCP
Check the video for instractions on how to generate React code with Figma MCP